应用纹理
或早或晚,你需要在模型上用到图像纹理。如果用的是外部程序编辑图像,你需要知道正在绘制的是网格的哪个部分。你可能还需要使用测试图像对UV映射进行测试。这一节将介绍如何导出UV映射的轮廓,以及如何加载图像到UV编辑器。
应用纹理到UV
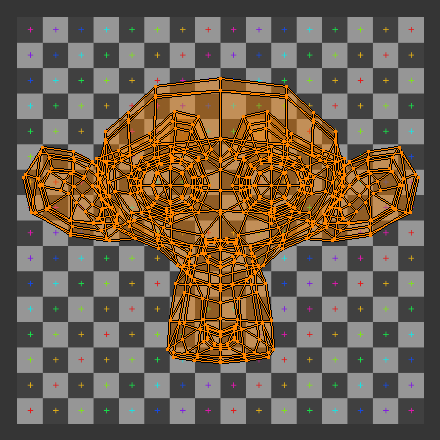
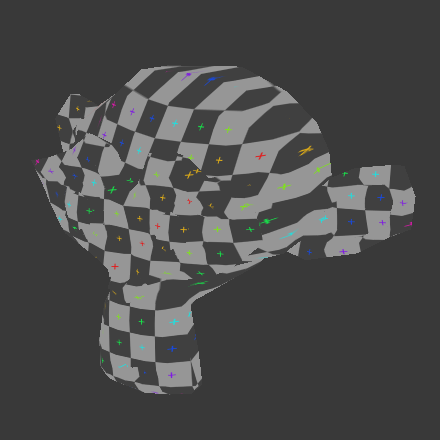
The UV Editor allows you to map textures directly to the mesh faces. The 3D Viewport shows you the object being textured. If you set the 3D Viewport into Textured viewport shading, you will immediately see any changes made in the UV Editor, and vice versa. This is because no real rendering is taking place; it is all just viewport shading. If you were to apply an image to UVs then render, the texture would not show up by default. So to render an image, you must:
为物体创建材质。
告诉Blender在渲染时对物体表面使用UV贴图。
要创建材质,在材质标签页单击 添加新的 材质即可。
There are two ways to tell Blender to use the UV texture when rendering: The proper way and the quick way:
使用UV坐标
使用UV坐标映射纹理。
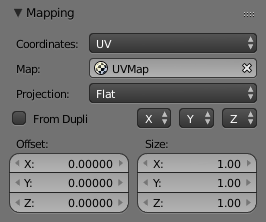
在贴图通道面板,添加一个新的问题,然后设置纹理为图像,载入准备好的图像。在映射面板,在左边菜单选择UV,然后选择对应的UV映射。
Make sure it is mapped to Color in the Influence section as well (it will be mapped to Color by default, and the UV texture is named "UVTex" by default). If the image has an alpha channel and you want to use it, click Use Alpha in the Map Image panel.
更多使用图像纹理的细节参考 图像纹理 页面。
Note
渲染必须要有材质
You can perform UV texturing on a mesh within Blender without assigning a material, and you will even see it in your 3D Viewport in textured viewport mode. However, when you render, you will just get a default gray if the object does not have a Material assigned. You will get a black if you do not load an image. If you do not create a texture that uses the image, your object will render according to the procedural material settings.