结构
许多概念来自 曲线,特别是 NURBS,直接搬过来用到NURBS曲面上了,例如控制点、阶数、权重、分辨率 等。在这里,我们将只讨论差异。
理解NURBS曲线和NURBS曲面之间的区别非常重要:前者有一个维度,后者有两个维度。Blender内部完全不同地处理NURBS曲面和NURBS曲线。有几个属性区分它们,但最重要的是NURBS曲线有单个插值轴(U),NURBS曲面有两个插值轴(U和V)。
但是,可以用曲线构成“2D”曲面(使用 挤出工具,或者更简单的,填充闭合的2D曲线)。并且,可以曲面构成“一维”曲线,比如只有一行(在U或V方向)控制点的NURBS曲面,只会生成一条曲线……
Visually you can tell which is which by entering Edit Mode and looking at the 3D View header: either the header shows Surface or Curve as one of the menu choices. Also, you can extrude a whole NURBS surface curve to create a surface, but you cannot with a simple NURBS curve.
控制点,行和栅格
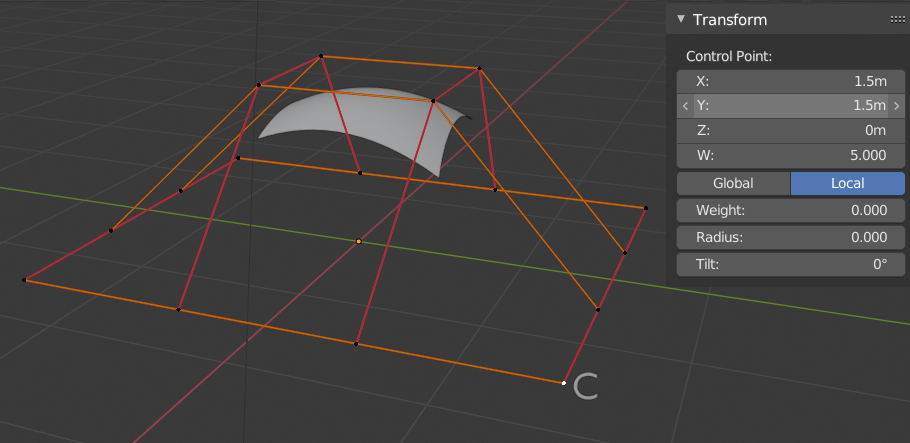
NURBS曲面的控制点和NURBS曲线的一样。然而, 他们的布局相当受限(受到类型不同的约束而导致布局也不同)。“线段”概念消失,取而代之的是“行”和整体的“栅格”。
“行”是指在一个插值方向形成的一条“线”的一组控制点(有点类似于网格的 循环边 )。所以在一个NURBS曲面里有“U行”和“V行”。关键是给定类型(U或V)的 所有行 都有相同的控制点数量。每个控制点均属于一个U行和一个V行。
所有这一切形成一个“栅格”,或“罩体”,其形状控制了NURBS曲面的形状。有点像 晶格……
This is very important to grasp: you cannot add a single control point to a NURBS surface; you have to add a whole U or V row at once (in practice, you will usually use the Extrude tool, or perhaps the Duplicate one, to add those...), containing exactly the same number of points as the others. This also means that you will only be able to "merge" different pieces of surfaces if at least one of their rows matches together.