圆弧工具

参考

模式

绘制模式

工具

工具栏 ‣ 圆弧

此工具创建简单的圆弧。

使用方法

选择笔刷和材质

In the Tool Settings select the brush, material and color type to use with the tool. The Arc tool uses Draw Brush types. See 常用选项 for more information.

常用笔刷选项

你可以在工具设置中方便地更改笔刷配置。具体的笔刷配置和设置请参考 绘制笔刷

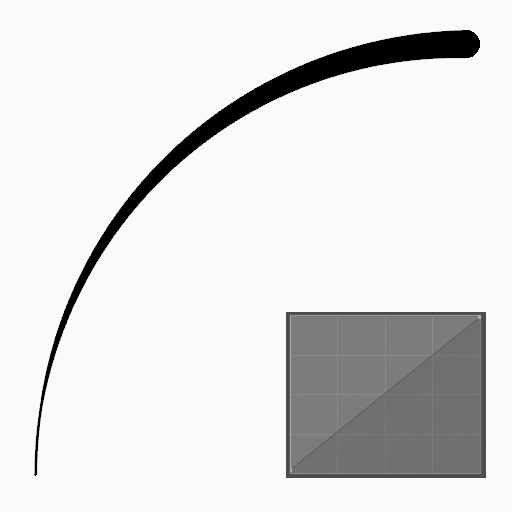
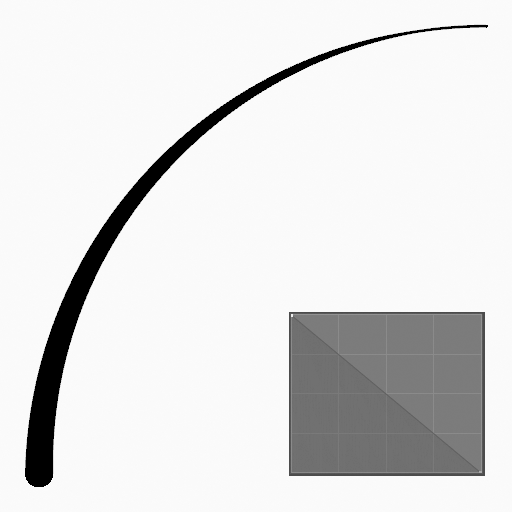
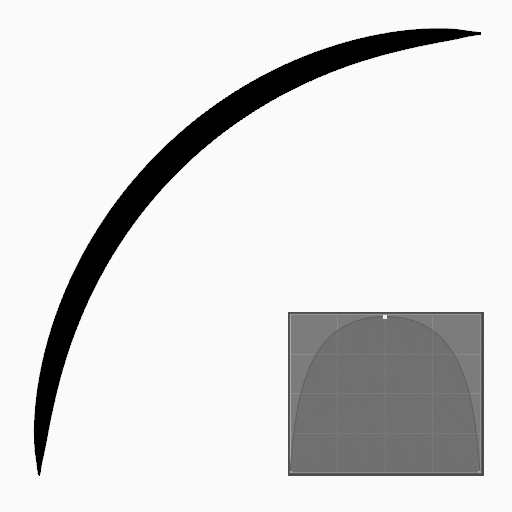
厚度轮廓

使用 曲线控件 定义从开始(左侧)到结束(右侧)的笔画粗细。

使用曲线

开启后,笔画使用曲线轮廓控制线条的厚度。

不同厚度轮廓示例。
../../../../_images/grease-pencil_modes_draw_tool-settings_arc_thickness-profile-01.png
../../../../_images/grease-pencil_modes_draw_tool-settings_arc_thickness-profile-02.png
../../../../_images/grease-pencil_modes_draw_tool-settings_arc_thickness-profile-03.png

创建圆弧

  1. 点击(LMBPen)并拖动起始点。

  2. 在期望的终点释放。

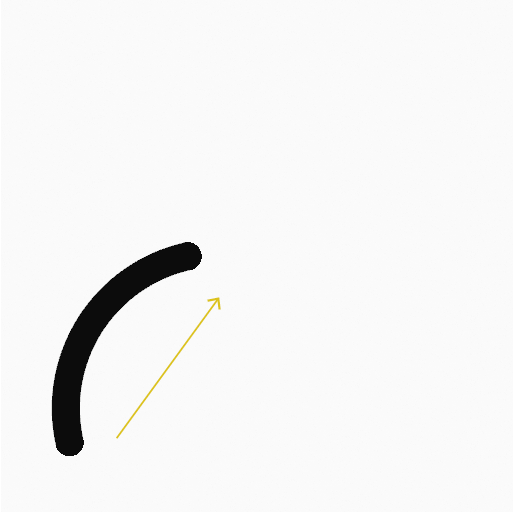
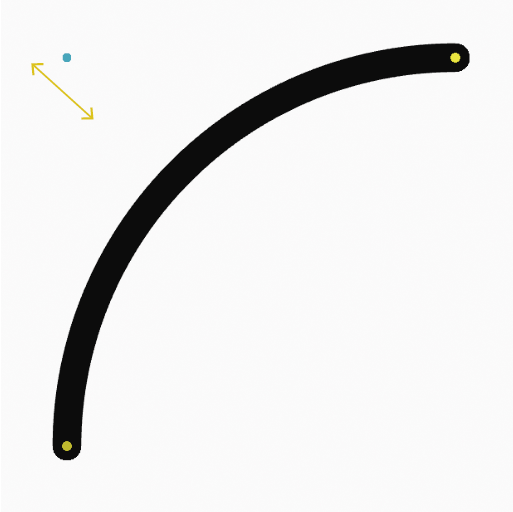
  3. 释放后,你可以通过一个青色的控制点(手掌图标)控制圆弧弯曲。

  4. 然后确认(Return/MMB)或取消(Esc/RMB)。

拖动时,你可以使用 Shift 创建完美圆弧,使用 Alt 从中心点开始创建圆弧,使用 M 翻转。

NumpadPlusNumpadMinus 或使用 Wheel 增加或减少生成圆弧中的点数。

../../../../_images/grease-pencil_modes_draw_tool-settings_arc_example-01.png

点击并拖拽起始点。

../../../../_images/grease-pencil_modes_draw_tool-settings_arc_example-02.png

使用控制点控制圆弧弯曲。

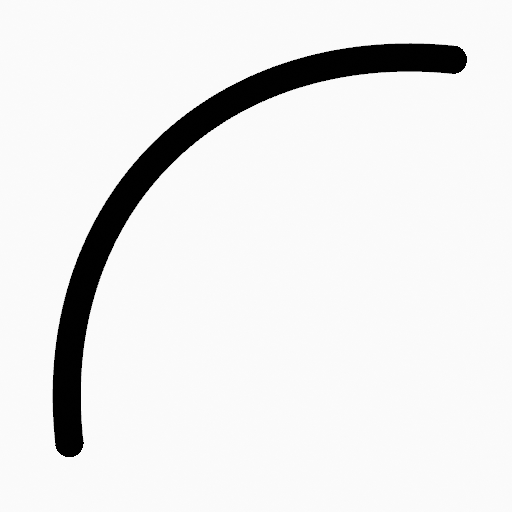
../../../../_images/grease-pencil_modes_draw_tool-settings_arc_example-03.png

确认后的圆弧。

挤出

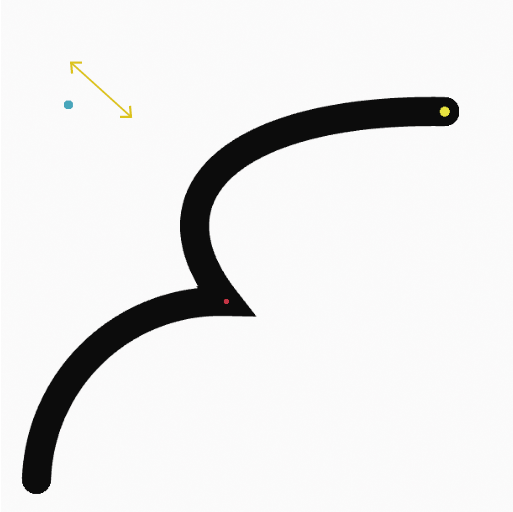
确认之前,你可以使用 E 挤出圆弧的结束点来生成多段连接的圆弧。

../../../../_images/grease-pencil_modes_draw_tool-settings_arc_extrude-01.png

挤出结束点。

../../../../_images/grease-pencil_modes_draw_tool-settings_arc_extrude-02.png

使用控制点控制最后一段圆弧弯曲。

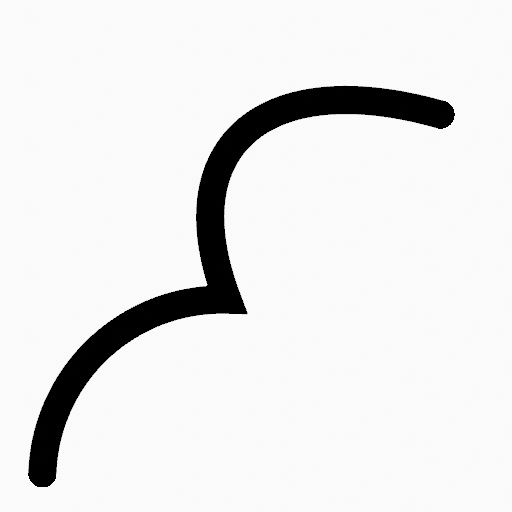
../../../../_images/grease-pencil_modes_draw_tool-settings_arc_extrude-03.png

确认后的相连圆弧。